How to Prepare a Design for Lenticular Printing: From Files to Production Approval
When preparing a design for lenticular printing, the product dimensions, application environment, and intended effect should be established first. Visuals suitable for that structure are then selected, and the file is prepared according to the production team's technical requirements. Completing a conventional poster and adding movement at the final stage may not always be the right starting point. In a lenticular project, the visual change itself is part of the design's narrative structure. Early communication between designer and producer is therefore important.
What is the starting point for lenticular design?
When preparing a design for lenticular printing, the product dimensions, application environment, and intended effect should be established first. Visuals suitable for that structure are then selected, and the file is prepared according to the production team's technical requirements. Completing a conventional poster and adding movement at the final stage may not always be the right starting point. In a lenticular project, the visual change itself is part of the design's narrative structure. Early communication between designer and producer is therefore important.
Preparation can begin with a short project card. It should contain the campaign objective, main message, target audience, and how the product will be used. For example, specify whether the item is an invitation examined in the hand or a poster hung on a wall. Next, write down which visual elements will change and which will stay fixed. This makes file preparation more than a technical checklist; it connects design decisions to the same communication objective.
How should you select images?
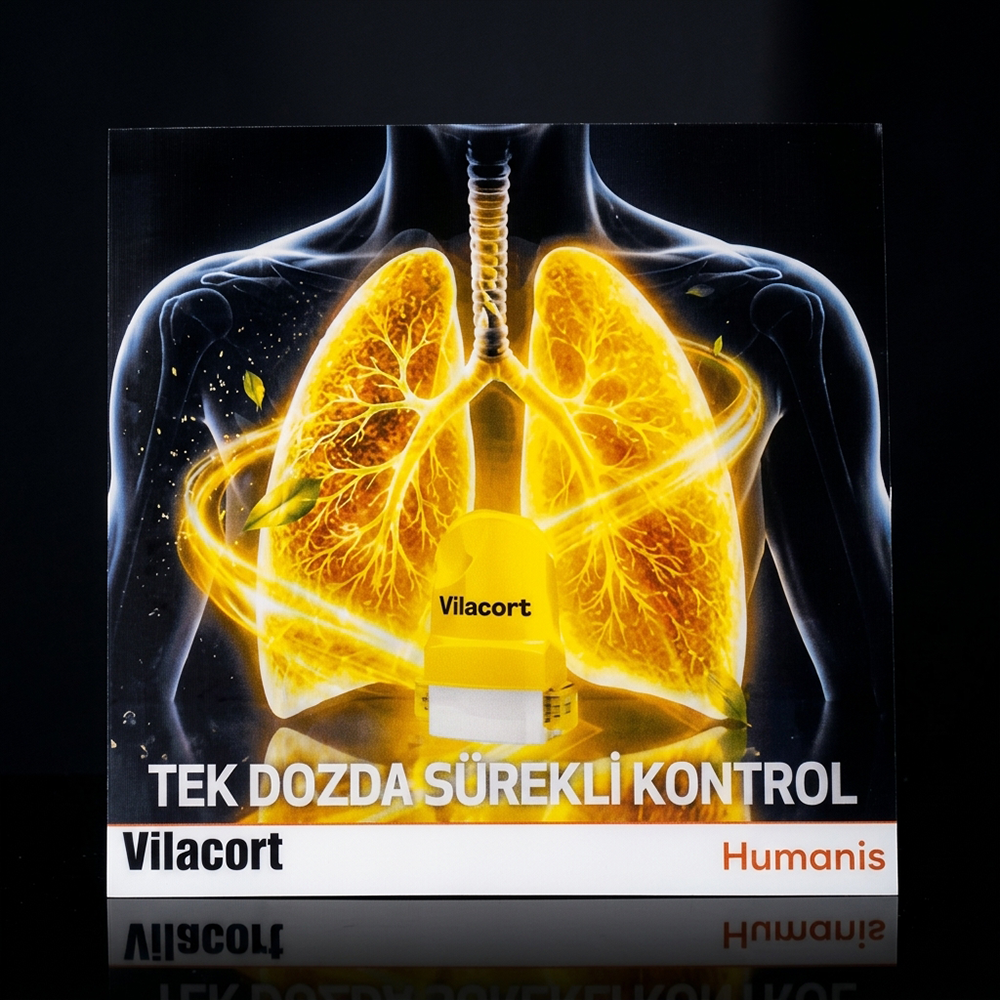
A good starting image should make it easy to distinguish the main element carrying the message. An attractive photograph alone is not a sufficient evaluation criterion. The product's position in the frame, background complexity, and space reserved for text should be considered together. If a transition between two images is planned, their narrative relationship should be explained. If entirely independent scenes are desired, that preference should also be a deliberate creative decision.
Organising source files while preparing the visual archive saves time. Rather than working with low-quality previews, gather the best available originals in one folder. Check image usage permission, approval from the brand owner, and licensing conditions where applicable. A stock image having been downloaded from the internet does not mean it can be used in corporate print. Although these checks may seem separate from the technical effect, they are fundamental preparation steps for a well-managed project.
Why is a layered file important?
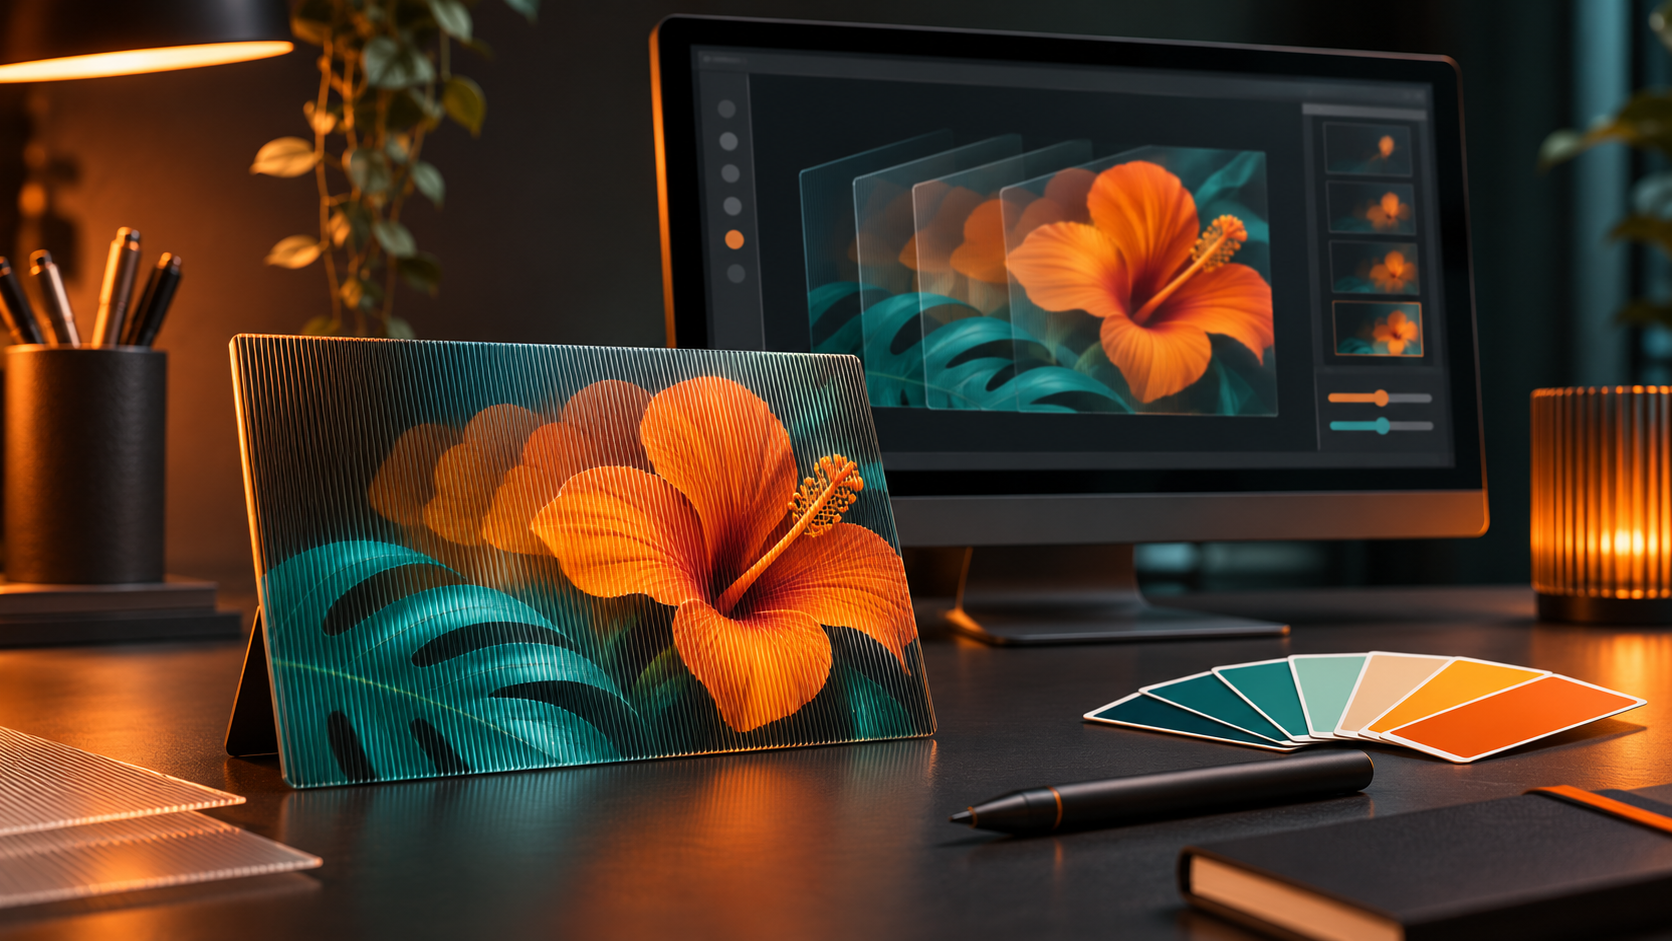
Especially in depth-based compositions, the elements of the scene may need to be considered separately. Being able to work independently on the product, background, decorative objects, and text gives the design team flexibility. Preserving existing layers is therefore useful. Sending one flattened image may limit possible adjustments or require additional preparation. Which layers are needed should be discussed with the technical team in relation to the intended effect and image structure.
Use understandable names in the file structure. Instead of names such as “final,” “very final,” or “final revision,” dates and version numbers provide a clearer record. Keeping visuals, logos, and texts in separate folders is also useful. Layer names should be descriptive enough for a colleague to understand what they are looking at. These recommendations are not tied to particular software; the aim is for the person receiving the file to follow its contents and approval status easily.
At which stage does interlacing take place?
Interlacing is the technical preparation that combines different images in an arrangement compatible with the lens. Before this process, the optical properties of the material and production conditions need to be determined. Checks such as a pitch test may be used during technical preparation. Creating a file with any setting found online and expecting the same result on every production system is therefore inappropriate. Final file preparation should be coordinated with the producer.
The brand or agency's task is to deliver the raw visuals and creative expectations clearly. Ask which file formats the technical team requires and obtain a template if needed. If the intended effect is not yet settled, flattening the file through operations that are difficult to reverse can be postponed. Requested changes can then be made more easily during technical assessment. Responsibility for preparation should also be clearly stated in the quotation scope, helping avoid the same work being performed twice by different teams.
How should you decide on text and logo placement?
In lenticular design, text is not simply there to fill empty space. The headline should quickly explain what the visual communicates, followed by supporting text if needed. A useful approach is to establish the most important sentence first and then arrange the other explanations. If a long paragraph is being considered on the product, ask whether it is really necessary. Presenting details on another surface or a digital page may be more appropriate for some projects.
Assess logo placement together with the scene structure. If the brand needs to remain recognisable between changing images, consistency of position and size can guide the work. The spacing and colour rules in the corporate identity guidelines should be preserved. Especially with small products, it is useful to print the layout at final size and examine the text arrangement. This printout does not verify the lenticular effect, but it helps provide an early check of placement, spelling, and general readability.
Is one standard enough for resolution and colour?
Simply stating a single DPI value does not provide a sufficient file-quality specification for every project. The image's actual dimensions, intended effect, and production method should be assessed together. Details such as colour profile, file format, bleed, and safe area should be clarified according to the producer's template. A print standard familiar to the agency should not be assumed to apply unchanged to this project.
Requesting the technical requirements in one written document at the preparation meeting makes the workflow easier. Agree which files will be delivered in editable form, how fonts will be shared, and whether linked images will be included in the package. Any particular brand colour sensitivities should be stated at the outset. The image on a screen should not be considered a complete representation of the final production. The approval method, visual expectations, and production tolerances should be discussed according to the project's scope.
How do you prepare a storyboard?
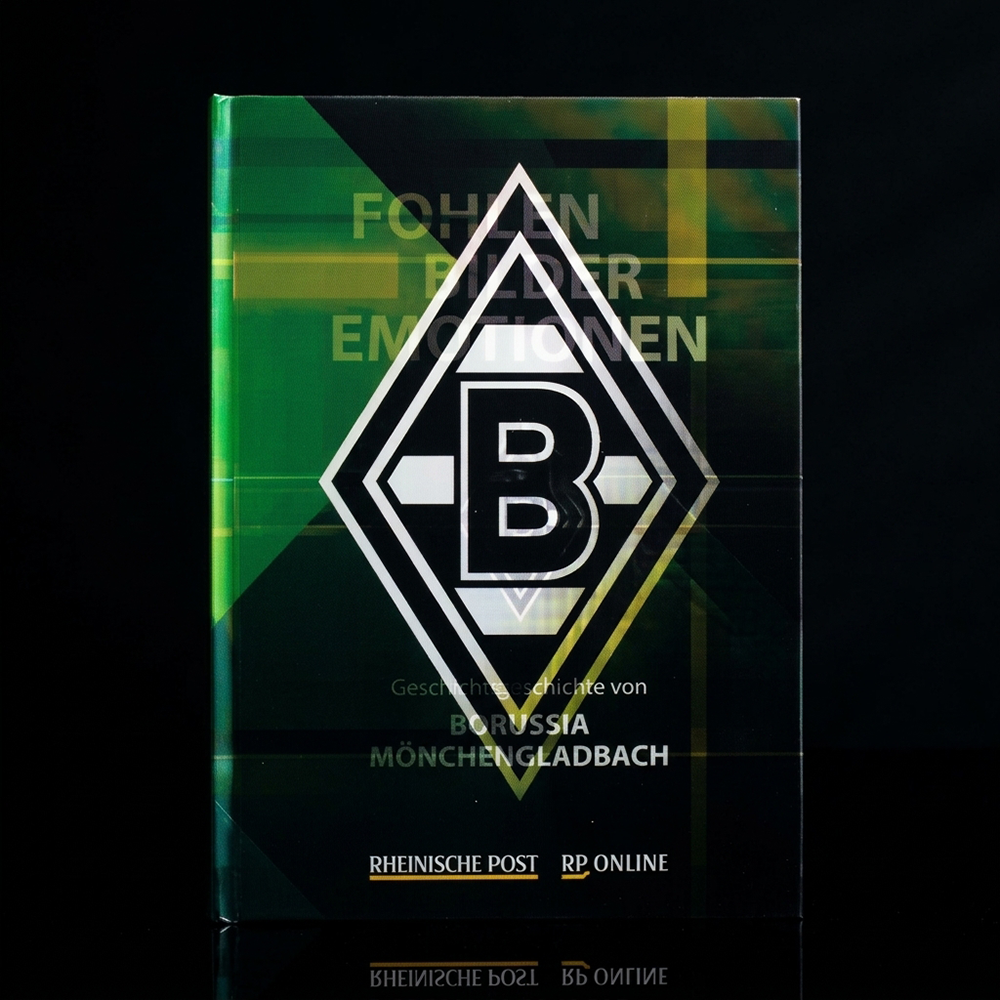
A storyboard can be thought of as a simple plan explaining what the scenes do. Write down what appears in the first frame, what changes in the next stage, and the conclusion viewers should understand. A technically detailed drawing is not essential; annotated image boxes may be enough to start. This plan allows designer and client to discuss the same idea. It provides a shared reference, especially when a project involves several decision-makers.
It is useful to add a short task statement beneath each box. Examples include “introduces the product's exterior,” “shows the lid movement,” or “compares two options.” Repeated scenes or scenes that undermine one another can then be removed. Storyboard approval is not the same as technical production approval. After the creative idea is accepted, the file and selected product still need to be assessed for compatibility with the structure. Separating these stages makes expectations easier to manage.
What should you assess in proofs and samples?
Text accuracy should be checked first during approval. The product name, date, telephone number, website address, and campaign details can be examined individually. Next, assess whether the main visual carries the message. Where applicable, compare each scene's role with the storyboard. If an issue is found, explain which element needs changing, from which angle, and in what way, rather than giving a general comment such as “it does not look good.” The revision request then becomes actionable.
If a physical sample is used, recording the assessment conditions is also useful. For example, note the approximate viewing distance, whether the item is handheld, and where it will be displayed. Establish in writing which sample characteristics will serve as the reference for mass production. Sample timing, cost, and scope should be discussed separately. This turns approval from a simple statement of preference into a shared quality reference for subsequent production stages.
How can you manage revisions more efficiently?
Receiving separate comments from many people can waste time. Appointing one feedback coordinator within the brand and consolidating comments before sending them helps the project progress more systematically. Each change can be numbered in a revision document. The requested adjustment, relevant scene, and expected outcome should be written together. If requests conflict, it is useful for the brand to resolve them before sending them to the producer.
The file version should be stated clearly at final approval. The approved filename and date can be recorded to prevent an old email attachment from being used by mistake. Discuss in advance how changes requested after production begins could affect timing or cost. This discipline is not needed only for large projects. Even in a small promotional assignment, clear file management reduces unnecessary repetition and keeps teams working on the same final version.
Make the file delivery package easy to understand
It is useful to include a short explanatory document in the delivery package. State which visual belongs to which scene, which text has been approved, and who should be contacted. Old alternatives that must not be used can be removed from the package or clearly separated. The production team will then not have to choose between similar images in a folder. Also make sure that any externally linked files are accessible. Asking whether any files are missing after delivery can complete the preparation stage. This small organisational step protects the value of the creative work and supports a workflow in which the right file is used at the right stage.
Frequently asked questions
Can work begin with only a JPEG?
A JPEG can be used for an initial assessment and idea discussion. Whether a layered file or additional visuals are required for final preparation depends on the intended effect. The production team should check the suitability of the starting file.
Can a file be prepared using a template found online?
General templates can provide ideas, but should not be accepted as final files without confirming compatibility with the lens, dimensions, and production conditions. The producer's project-specific technical information and templates should be the basis.
Is approval of a digital animation enough to start production?
This depends on the project's approval method. A digital presentation can communicate the creative idea, while additional checks may be needed to assess physical characteristics. The reference that counts as production approval should be stated clearly in the quotation and work plan.
Prepare your file for assessment by Unilens
Share a short summary of your campaign objective, product format, dimensions, and intended visual change. Include the original images and existing layered files available to you. Complete final preparation after clarifying technical requirements with Unilens. This sequence helps the design carry your brand's message while being developed in line with the production conditions of the selected lenticular application.
Explore related lenticular products
Visit the pages below to compare the applications discussed in this article with available product options.
To see other formats, explore the lenticular products category. To assess options suited to your dimensions, quantity, and effect expectations, contact Unilens and request a quotation.